Outfit
- Cloak with hood
- Shapeable wire for hood and cape
- Fabric
- Black for face hood
- Forest green for short undercoat 1
- Purplish-black for med undercoat 2 (blk ok)
- Purplish-black for long undercoat 3 (blk ok)
- Purplish-black for cape (2pcs) (blk ok)
- See-through fabric for green eyes
- Brownish-black wrap for feet
- Fabric paints
- Green for patches/eyes
- Brown/gold for undercoat trim
- Dk purple spray for cape
- Craft foam
- Craft foam paint - plasti dip?
- Gold
- Black
- Body paint
- Brown for feet
- Black for toes
- Green & dk green for hands
- Compression shirt/pants
- Contact lenses...TBD
Staff
- PVC pipe
- Paint
- Black
- Dusty blue-gray
- White
- Green tissue paper
- Craft foam for top?
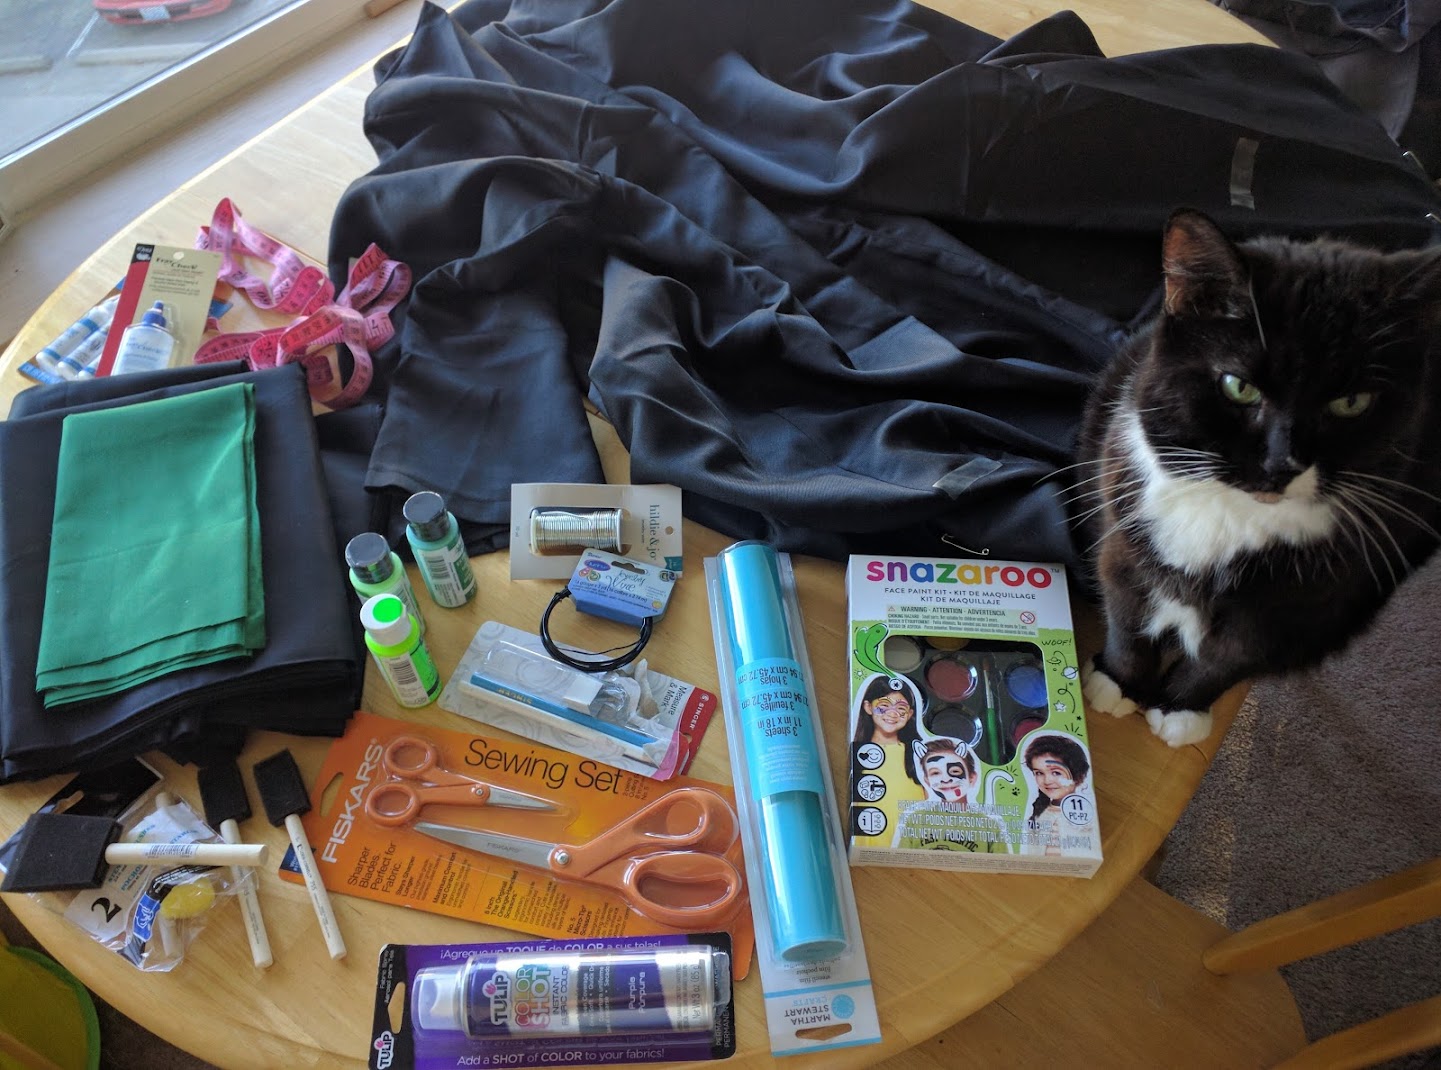
Finding the right cloak was first. There's really nothing out there that I saw that could really match the style Rubik wears in the dota set that I wanted to build. So I went with the closest I could find, which was this. It's polysester and has the feel of a graduation gown, so it's not great. But it will have to do for this project. After that, it was a trip to the store. Getting anything done is quite the challenge, though, and the culprit is one of the items in this picture:
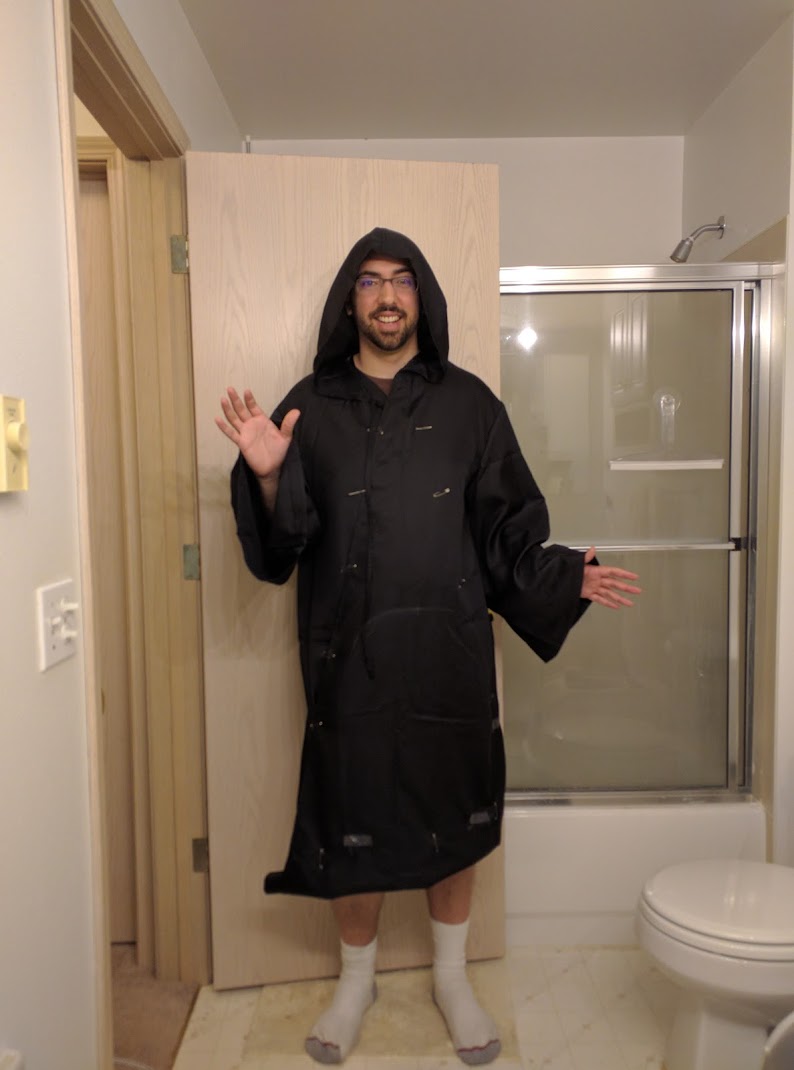
With all the items purchased, time to start getting the vision for what this would look like. The cloak is GIGANTIC (80 inches around), so that would never do for Rubick. So I'm going to have to pull it in tight. Also going to have to pull it up to my waist, since that's what the set I'm building has. I pinned it up, and started getting an idea of where I'd need to make a cutout.
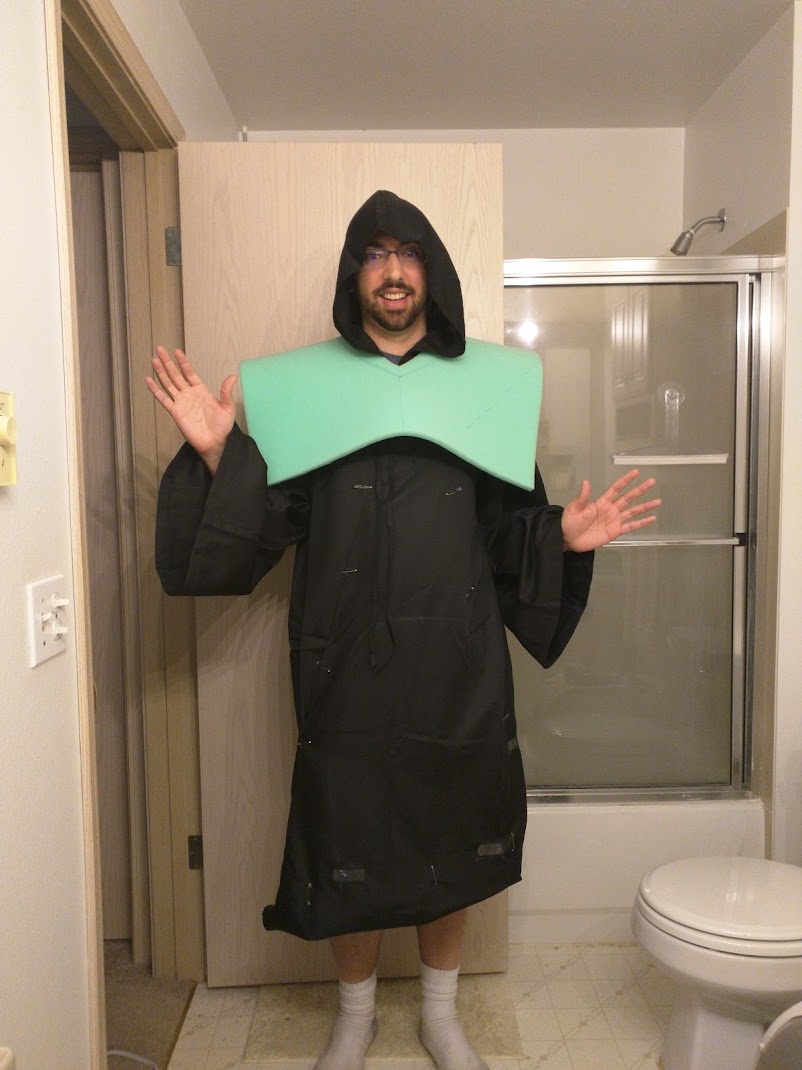
After that, I realized I needed to get started on painting the shoulderpiece sooner than later, so I started drawing the pattern on the foam and cutting it down.
For the design, I drew it on paper on top of the foam, and then outlined it on the foam. Here's the final template outline.
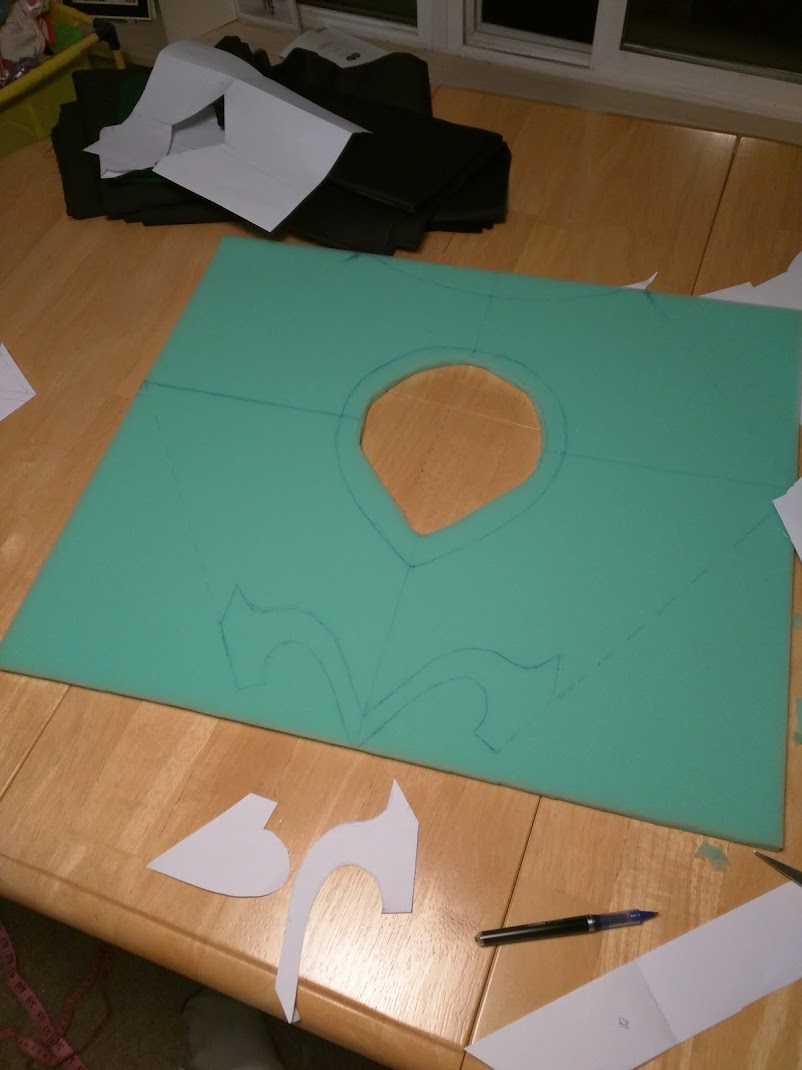
That was finished last night. Today I've been cutting it out and painting. More on that later...
No comments:
Post a Comment